
Open the Product Roadmap template in the Product Management category under New Document on the dashboard.
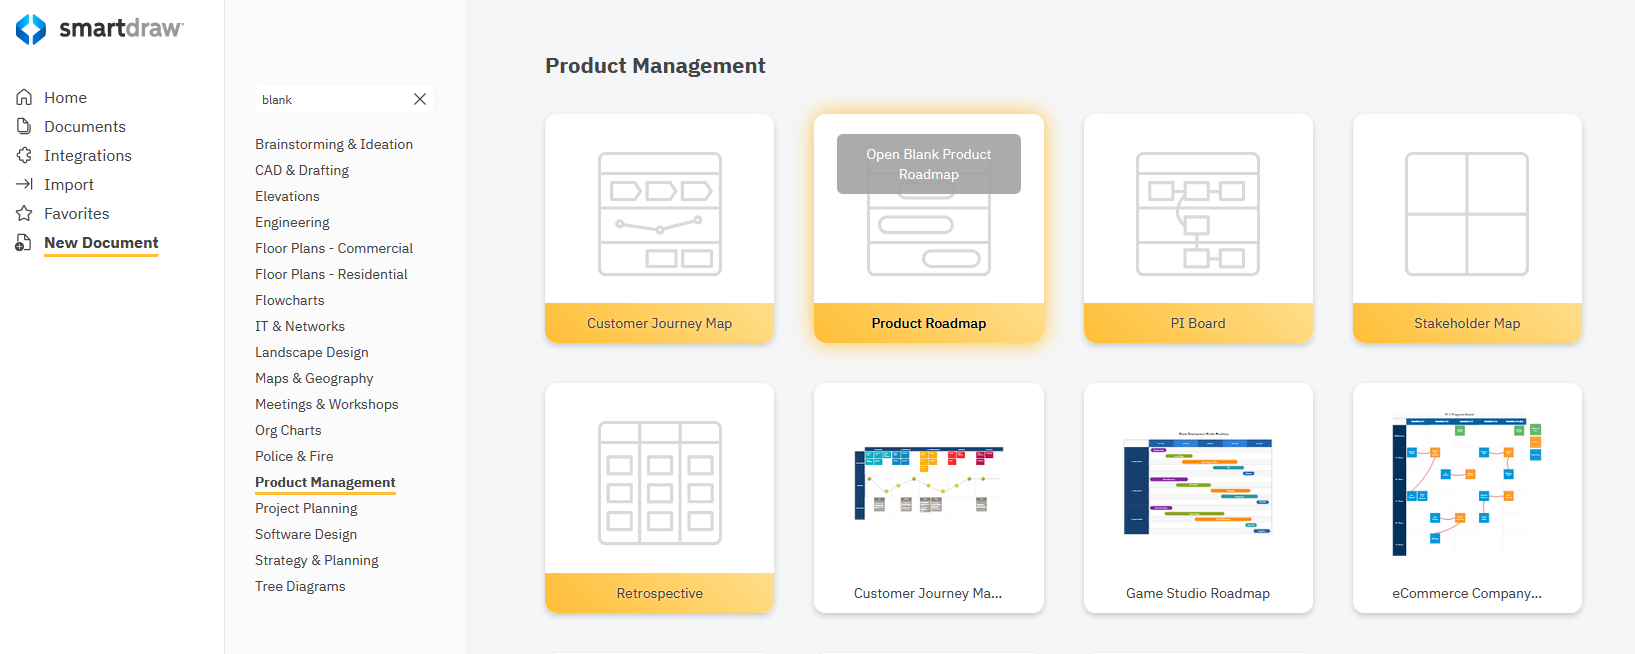
You’ll get a basic roadmap template with some products and a time frame that includes a few quarters.
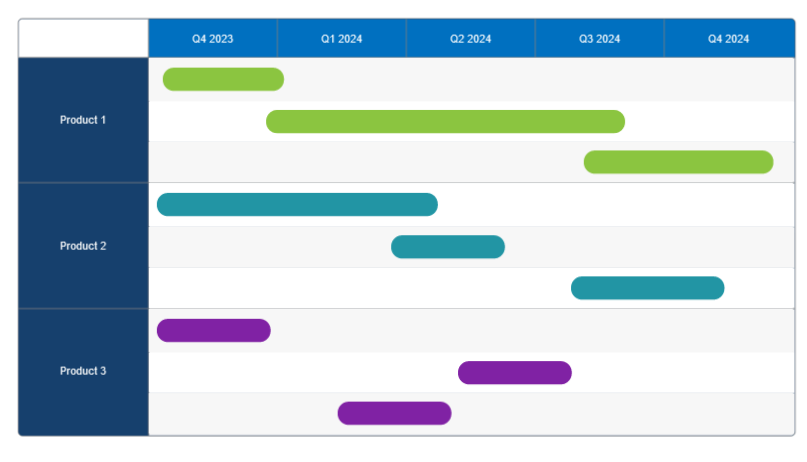
Pick a Time Frame for Your Roadmap
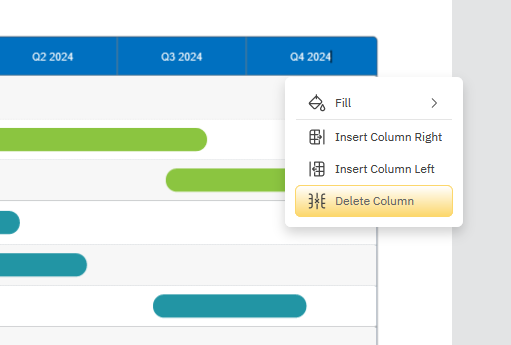
Replace quarters with months or years as you need. You can easily add or delete columns using the SmartPanel to the left of the roadmap or simply use the right-click menu.
To change text in a cell, double-click and type.
Define Rows
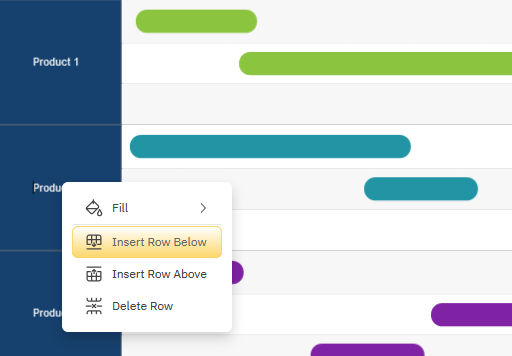
The rows in a product roadmap can represent different products, different aspects of the same product, or different teams working on the same product. SmartDraw makes it easy to change the labels and add and delete rows as needed.
Add Bars Representing the Development and Release of Features
Use the bars to represent the development of features and functionality.
To add text to a bar, just double-click and type.
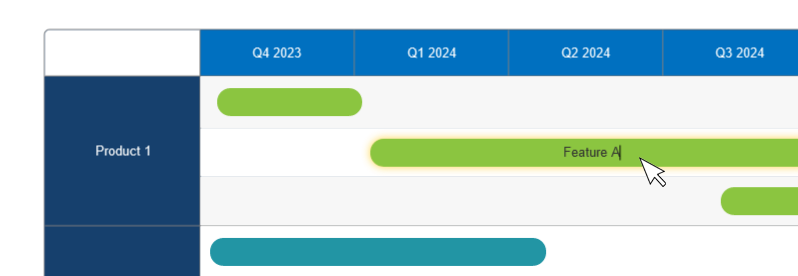
Change the Length of Bars
You can use your mouse to drag a bar to extend or shorten the time frame for the development of a specific feature or to move it somewhere else in your time frame.
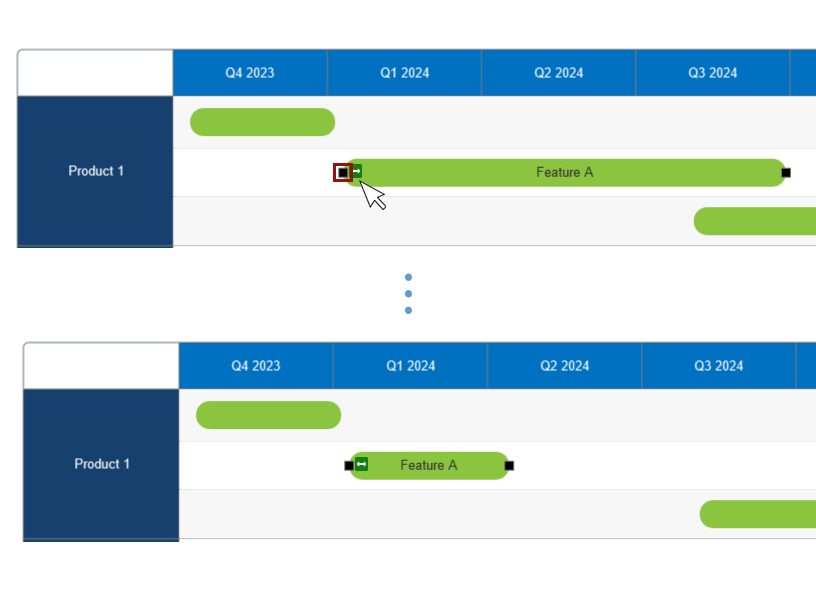
First, let's say your dev team has revised the time estimate for a new initiative. They now say it will actually be completed in a single quarter instead of two. To update the bar representing that initiative, grab the black handles and drag.
Move the Bar
To move any bar horizontally along your time frame, click and drag the green arrow on left edge of the bar. This allows you to control where the bar appears on your roadmap horizontally. You can simply slide the bar along the row it's in to better position it.
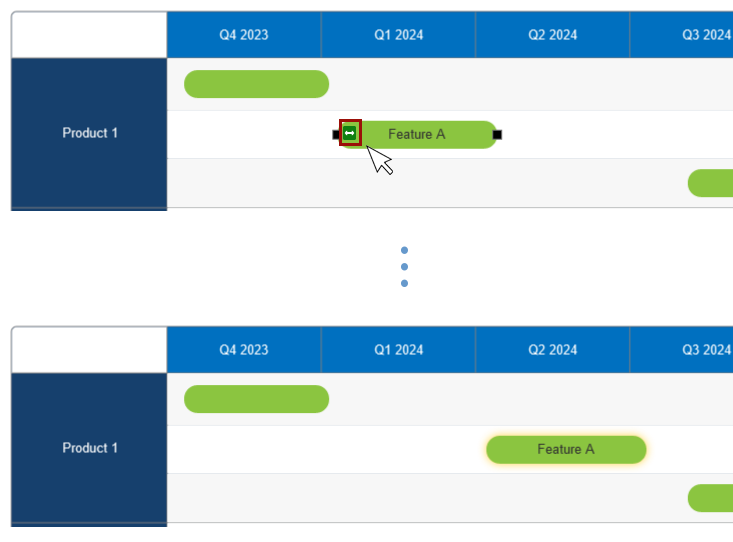
To move your bar vertically, just grab it and move it to another row.