
You can import any image or PDF as a background layer to serve as the foundation of new plans or to save time when documenting fire incidents, pre-plans, or evacuation plats.
Start by opening a floor plan template.
Open a Relevant Floor Plan Template
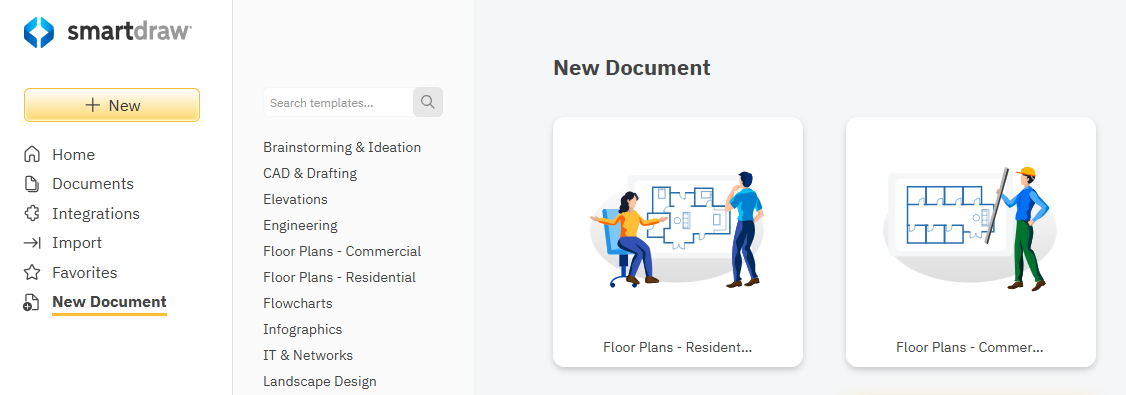
On SmartDraw's dashboard, click on New Document and select one of the available Floor Plan templates. SmartDraw's templates have unique properties that are specifically configured to make drawing that type of diagram easy. If you want to create a scaled drawing of any kind, you'll want to start with a template configured for scaled drawings like Floor Plans. It will have the ability to define scale, tools to scale your imported image and symbols ready to add to your new plan or design.
Find Your File to Import
Let's start by determining the file type of your existing floor plan. SmartDraw will import JPGs, PNGs, and SVGs as an image. You can also import a floor plan as a PDF. In many ways, both import options work the same way, but let's go over each option in detail.
Once the file is imported, the steps to scale it are the same whether you started with an image or a PDF.
Import a Floor Plan JPG, PNG or SVG
Use the Insert Tool to Import Your Image
Once you have a floor plan template open, find the Insert tool on the Home tab and choose Picture.
In the dialog that pops up, browse your computer for the image you want to import.
Make sure you select Import as a Background Image.
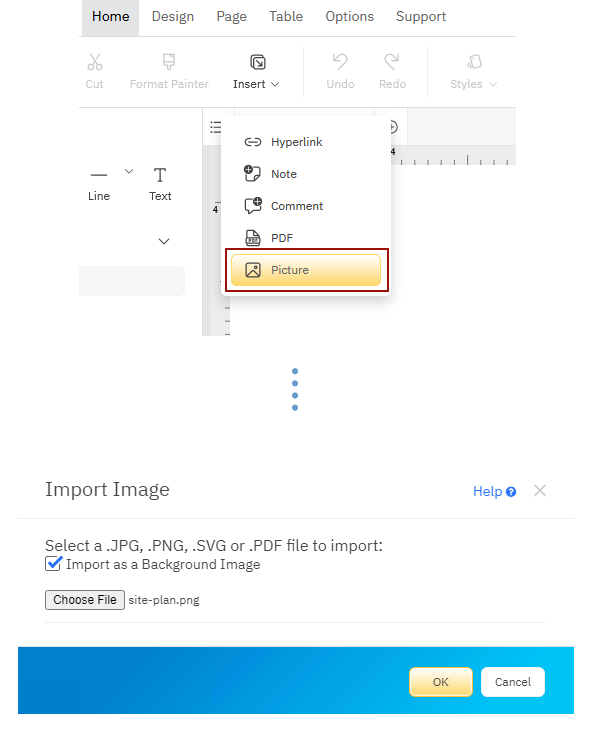
Click OK to import your image into a background layer.
Import a Floor Plan PDF
The steps for importing a PDF file for a floor plan are similar to an image. You can set it as your background, scale it to match your drawing, and draw on top.
Use the Insert Command to Import Your PDF
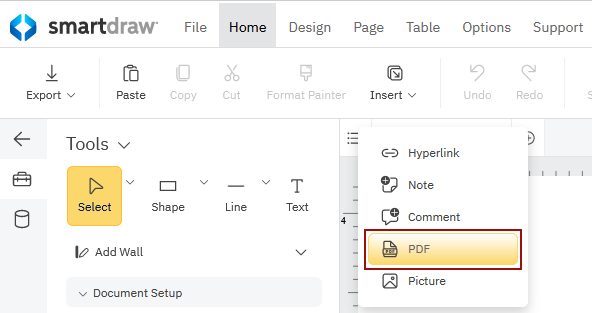
Once you selected a template, on the Home tab, under the Insert tool, choose PDF.
In the dialog that pops up, browse your computer for the PDF you want to import.
Make sure you select Import as a Background Image.
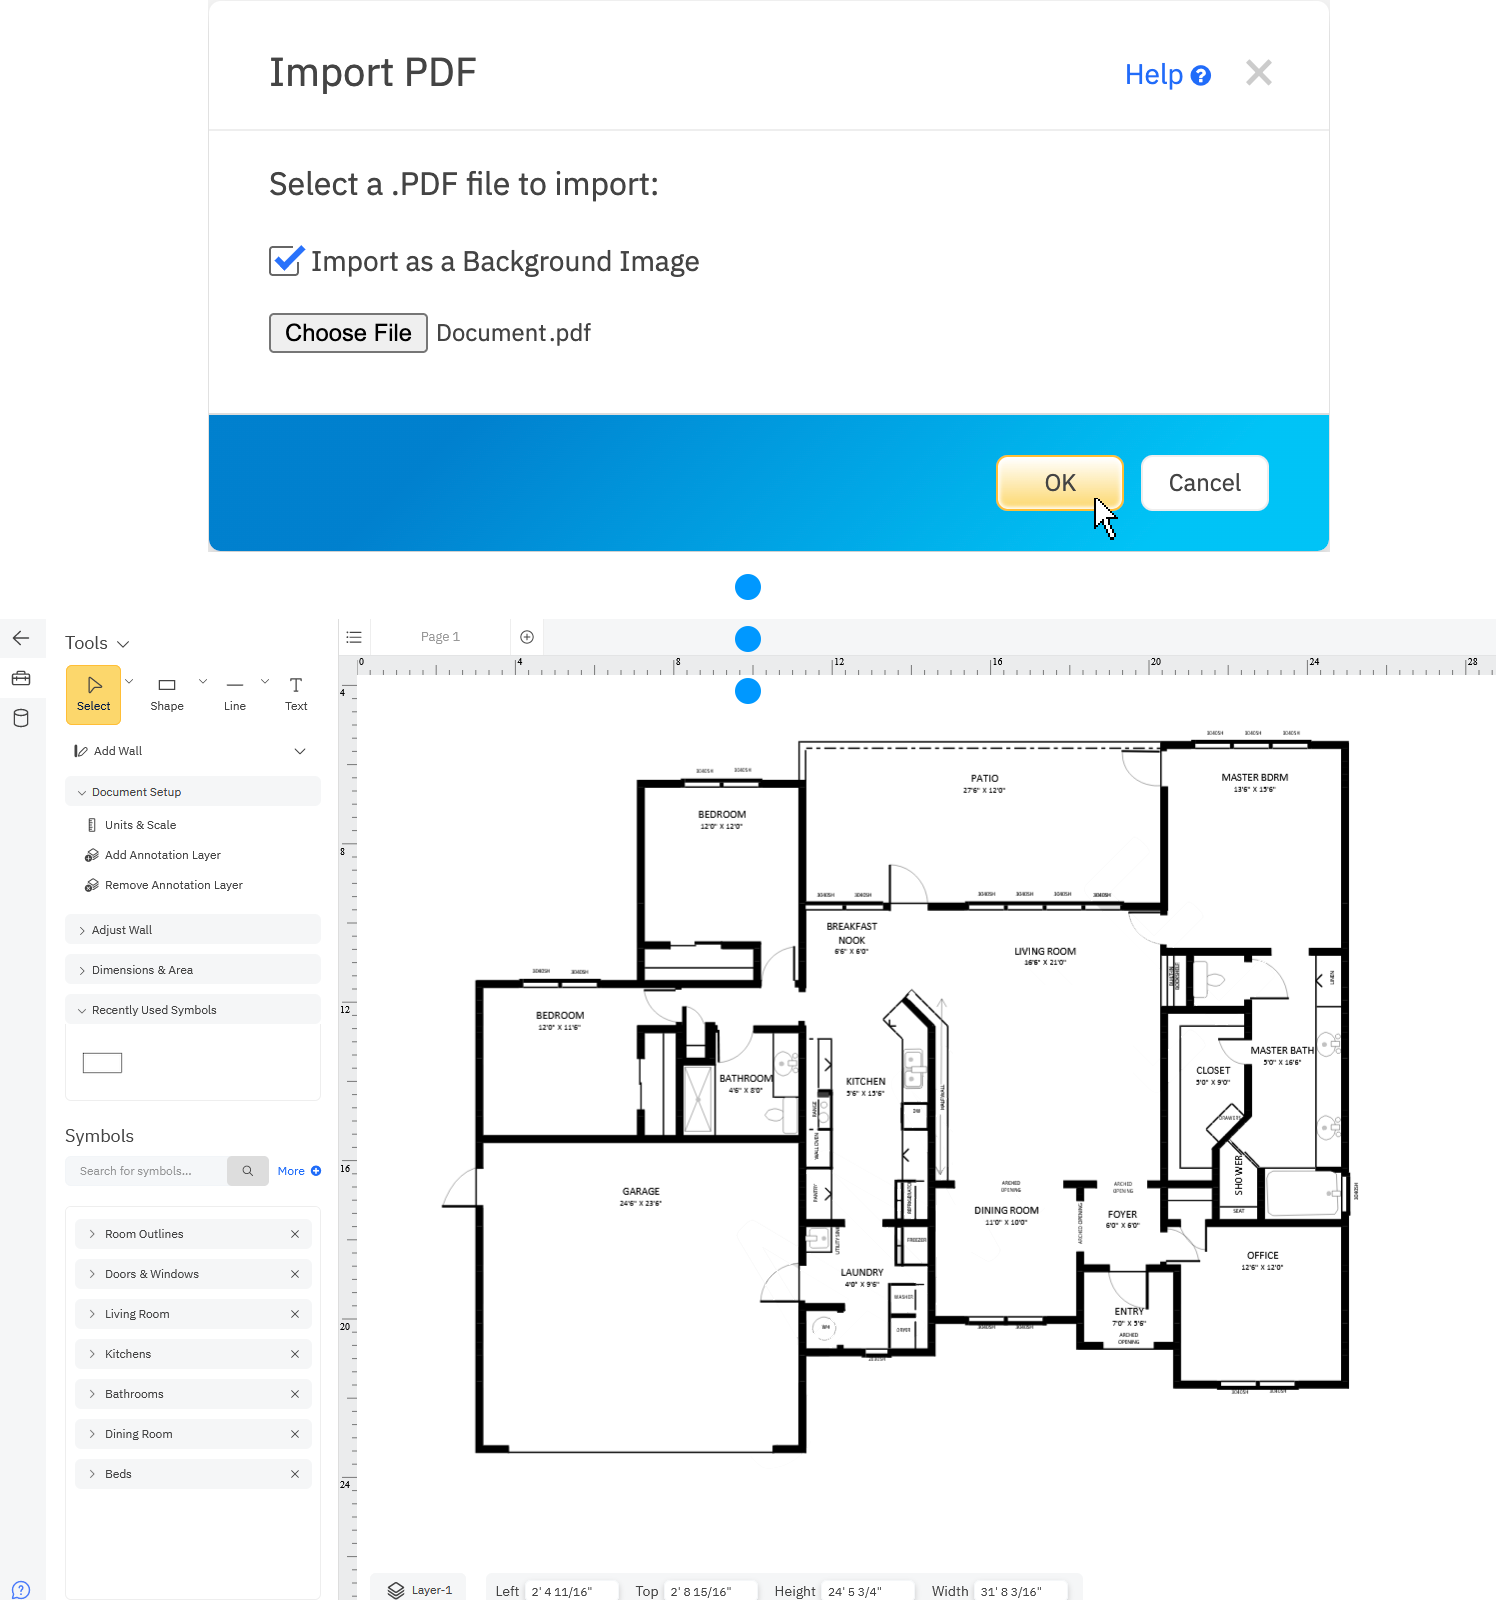
Now it's time to scale your imported floor plan.
Scale Your Imported PDF or Image
Select Your Reference in the Imported Image
To help you scale the image or PDF, we'll want to match a line drawn in SmartDraw with an object with known dimensions from the imported file. So before we can resize the image, pick an object that you know the dimensions of to use as a reference.
If you are working with a blueprint from somewhere else, it will either have a scale itself or the labels on rooms or objects should be your guide.
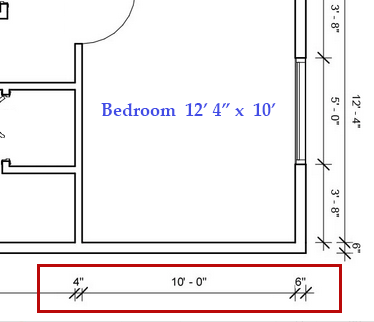
Scale the Imported Image or PDF Using a Reference Line
Once you picked your reference object on the imported image or PDF, you're ready to true up the scale of your imported image and your floor plan. In the SmartPanel, to the left of your drawing area, click on Scale Image with Reference Line. This tool will help you draw a temporary line and use it to automatically match the scale of your import.
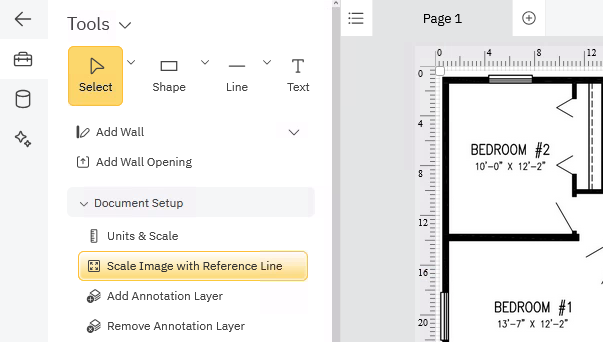
Next, draw a reference line that matches the length of your selected segment.
This line will serve as SmartDraw's guide for resizing the imported image. In the modal that pops up, enter the actual length of the line you just drew.
For example, if you imported a blueprint with exact room dimensions, you can draw a line along the wall of a known wall length. In the example below, we drew the line along the longer wall of Bedroom #2 and then specified that it was 12' and 2 inches in the dialog.
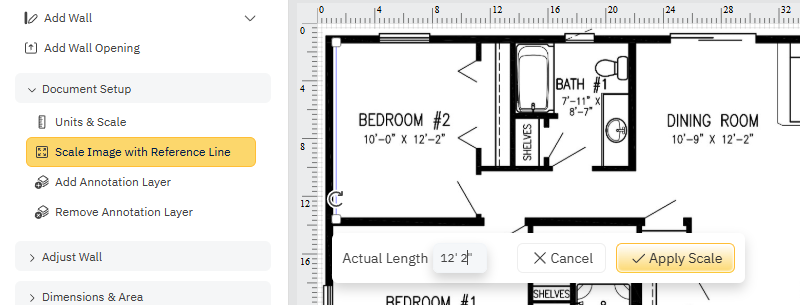
Hit Apply Scale to resize the imported image automatically. The image will now match the scale of your floor plan. SmartDraw will automatically remove the reference line used.
It's that easy.
Related article:
Match the Scale of an Imported Image with Your Document