
One of the features of SmartDraw is the ability to create a custom symbol library.
To create a custom library, click on More in the symbols section of the SmartPanel on the left hand side of your workspace.
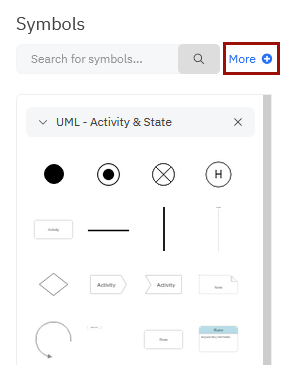
This will open the Symbol Libraries dialog.
Click on Add New and select Add New Custom Library.
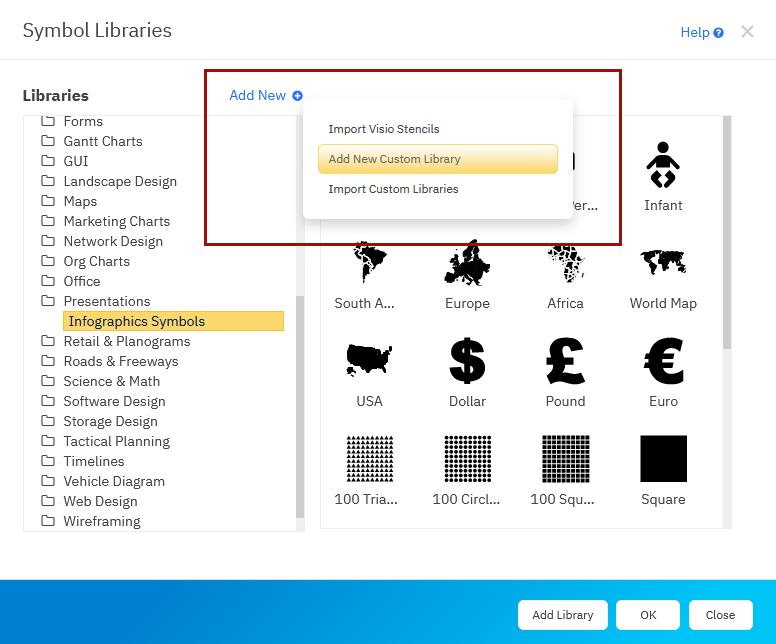
A new dialog window will appear. Type the name of your custom library and click OK to save your library.
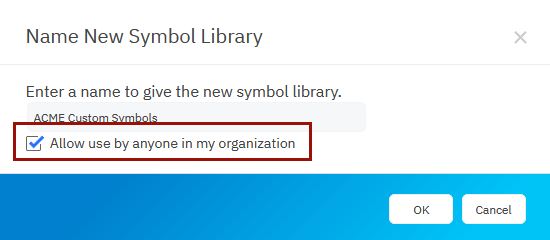
If you have a SmartDraw Site License, you can choose to share any custom library you create with anyone on your license.
When your license allows it, you'll see an optional check mark underneath the name field in this dialog.
Check "Allow use by anyone in my organization" to share your custom library with your team members. Learn more about sharing a custom library.
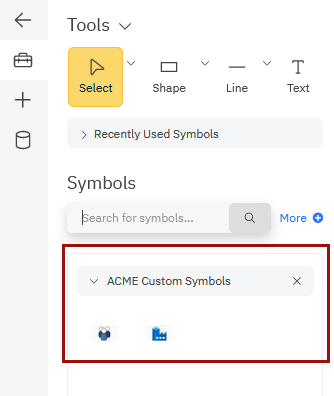
Your custom library will now open in the SmartPanel. You can drag and drop your custom symbols to it to add them to the library.
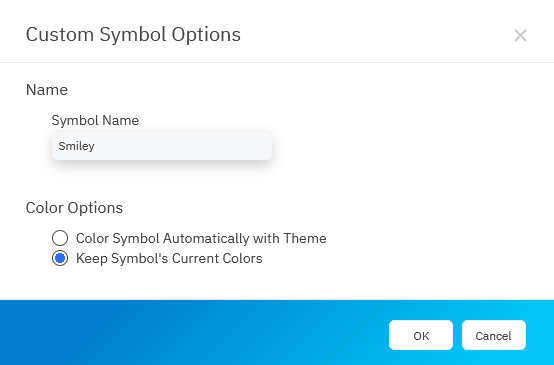
As you add symbols, you'll be asked to name your symbol and choose how you want it to behave with theme colors.
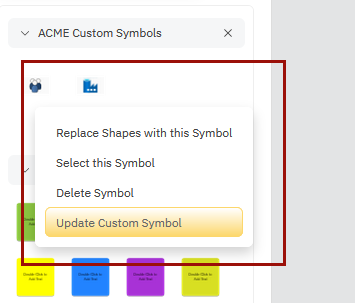
You can delete and update any symbols you add to this library at any time.
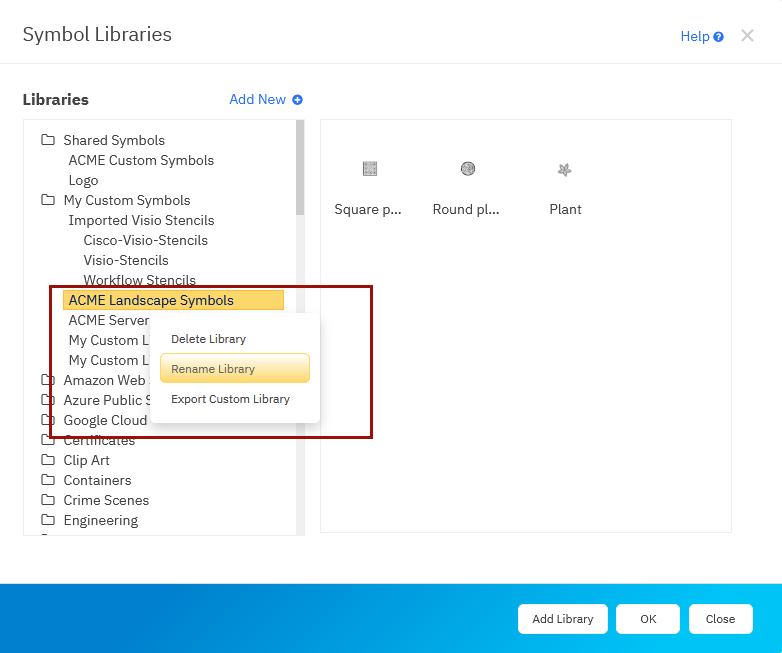
You can also rename or delete the custom library from the More menu in the Symbols Libraries dialog.
If you shared your custom library with your team, it will be under Shared Symbols. If you didn't share your library with your organization or don't have a Site License, the custom library will be under My Custom Symbols.
Creating Shared Custom Libraries
Read how to share custom libraries on a site license.
How to Share Existing Libraries
Learn how to export a custom library to share with your team.
Learn how team members can import that custom library to their account.